Old Fashioned Yeast Rolls: Baker’s Best Tips
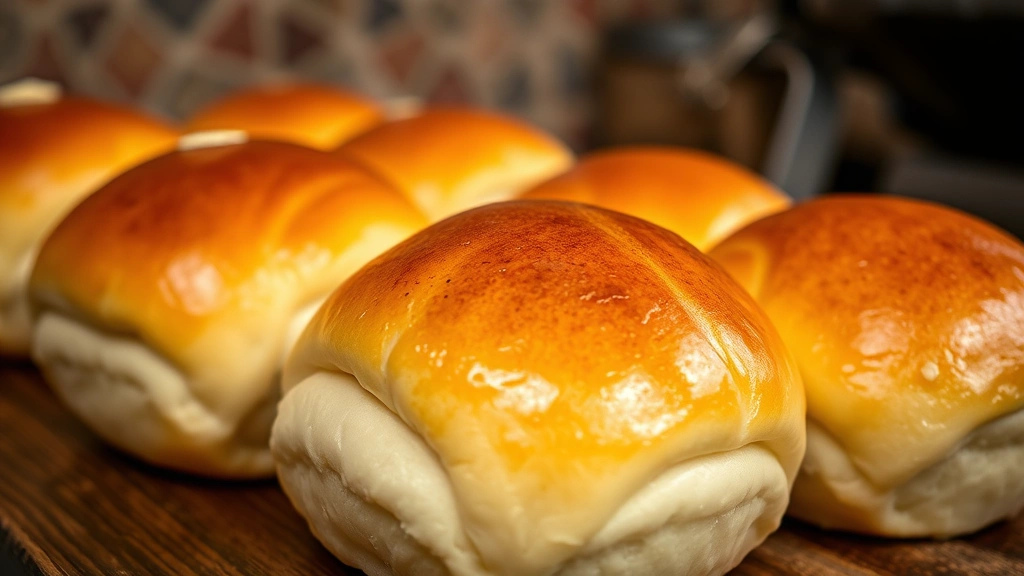
There’s something truly magical about pulling a tray of golden, fluffy old fashioned yeast rolls from the oven. The aroma alone transports you back to cherished family gatherings and holiday celebrations. Whether you’re a seasoned baker or picking up a whisk for the first time, mastering the art of traditional yeast rolls is absolutely achievable with the right guidance and a bit of patience.
Old fashioned yeast rolls represent the foundation of classic baking—a timeless recipe that has graced dinner tables for generations. Unlike modern quick-rise versions, these traditional rolls require time and attention, but the reward is incomparable texture, flavor, and that signature homemade quality that no store-bought roll can replicate. This comprehensive guide will walk you through every step, sharing baker’s secrets that transform ordinary ingredients into extraordinary rolls.
Understanding Yeast and Its Role
The heart of any traditional yeast roll recipe lies in understanding how yeast works. Active dry yeast and instant yeast are the two most common types used in home baking. Active dry yeast has larger granules and requires slightly longer to activate, while instant yeast (also called bread machine yeast) dissolves more quickly. For old fashioned yeast rolls, either works beautifully, though many bakers prefer active dry for its reliability and traditional results.
Temperature control is absolutely critical when working with yeast. The ideal temperature for activating yeast is between 105-110°F (40-43°C). Water that’s too hot will kill the yeast, resulting in dense, flat rolls that never rise properly. Water that’s too cool will slow fermentation dramatically. Invest in a reliable kitchen thermometer—it’s one of the best tools any baker can own. When yeast is properly activated, you should see a foamy layer develop on top of your liquid within 5-10 minutes. This visual confirmation tells you your yeast is alive and ready to work.
Beyond activation, understanding fermentation is key. Yeast consumes sugars in the dough and produces carbon dioxide gas, which creates those wonderful air pockets that make rolls light and fluffy. The slower fermentation process in traditional recipes develops deeper flavor and better texture than quick-rise methods. Patience here truly pays dividends in your final product.
Essential Ingredients for Perfect Rolls
An old fashioned yeast rolls recipe requires simple, quality ingredients. You’ll need all-purpose flour (bread flour creates even better structure), active dry yeast, warm water, salt, sugar, and butter. Some traditional recipes include milk and eggs for richness, though this varies by regional tradition.
The flour you choose matters significantly. All-purpose flour with 10-12% protein content works well for rolls, creating a tender crumb. If you prefer a sturdier roll with more chew, bread flour (12-14% protein) is your answer. Always measure flour by weight when possible—1 cup of flour weighs approximately 120-125 grams. This consistency eliminates the guesswork that can lead to dry or sticky dough.
Salt enhances flavor and strengthens gluten development, so don’t skip it. Sugar feeds the yeast and adds subtle sweetness, but avoid using too much, which can inhibit yeast activity. Butter contributes richness and helps create that tender crumb texture. Milk and eggs, when included, add moisture and create a slightly richer, more tender roll. Room-temperature ingredients blend more smoothly than cold ones, so remove eggs and milk from the refrigerator 30 minutes before baking.
Water quality affects your results more than most bakers realize. If your tap water is heavily chlorinated, let it sit overnight before using, as chlorine can interfere with yeast activity. Many professional bakers use filtered water for this reason.
The Complete Step-by-Step Process
Begin by dissolving your yeast in warm water with a pinch of sugar. Let this mixture sit for 5-10 minutes until foamy. In a large bowl, combine your flour and salt. Create a well in the center and pour in the yeast mixture along with any eggs, milk, or additional water your recipe calls for. Using a sturdy wooden spoon or your hands, gradually incorporate the flour into the wet ingredients.
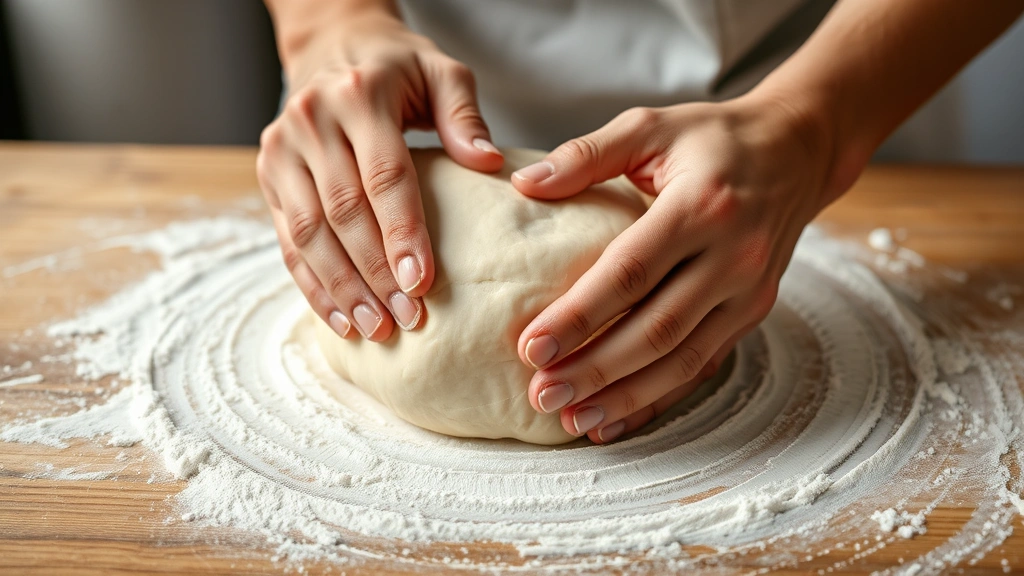
Once a shaggy dough forms, transfer to a lightly floured work surface and knead for 8-10 minutes. Proper kneading develops the gluten network that gives rolls their structure and elasticity. You’ll know you’ve kneaded enough when the dough becomes smooth, elastic, and springs back slightly when poked. If the dough seems too sticky, add flour gradually—just a tablespoon at a time. If it’s too dry, add water in teaspoon increments.
Place your kneaded dough in a greased bowl, turning to coat all sides with oil. This prevents a crust from forming during rising. Cover with a damp kitchen towel or plastic wrap and let rise at room temperature (68-75°F is ideal) for 1-2 hours until doubled in bulk. This first rise develops flavor and allows yeast to multiply.
Once risen, turn the dough onto a lightly floured surface and gently press out excess gas. This is called “punching down” the dough, though you should use gentle pressure rather than aggressive pounding. Divide the dough into equal portions—typically 12-16 rolls depending on desired size. This is where precision matters; use a kitchen scale for consistent sizing, or divide the dough visually into equal sections.
Shaping Techniques for Professional Results
How you shape your rolls dramatically affects their final appearance and texture. The most common method for traditional rolls is the simple round shape. Take a portion of dough and cup it in your hands, gently rolling it against the work surface using a circular motion. The surface tension created by this rolling motion creates a smooth exterior and helps seal the dough.
For a more rustic appearance, try the cloverleaf shape, which involves dividing each dough portion into three smaller balls and placing them together in a muffin cup. This creates a beautiful presentation and allows steam to circulate between the balls during baking. Another elegant option is the crescent or crescent-roll shape, which involves rolling a flattened circle of dough and rolling it up from one edge, then curving into a crescent.
Place shaped rolls on a greased baking sheet, leaving about 2 inches between each roll. For softer rolls that touch and create a cohesive loaf, space them closer together. For rolls with crispy edges, space them farther apart. The choice depends on your preference and the occasion.
Proofing and Rising Mastery
After shaping, your rolls need a second rise, called the final proof. Cover them loosely with a damp towel or plastic wrap and let them rise at room temperature for 45 minutes to 1 hour, or until they’ve increased in size by about half (they shouldn’t quite double during this phase). Slightly under-proofed rolls will continue rising in the oven, creating an excellent oven spring. Over-proofed rolls may collapse during baking, resulting in dense texture.
The poke test determines when your rolls are ready to bake. Gently poke a roll with your finger. If the indentation springs back halfway, the rolls are perfectly proofed. If it springs back completely, they need more time. If it doesn’t spring back at all, they’re over-proofed. Temperature affects proofing time significantly; warmer kitchens require less time, while cooler ones need longer.
For overnight rolls, shape them, cover them, and refrigerate for 8-16 hours. The slow, cold fermentation develops exceptional flavor. The next morning, remove them from the refrigerator and let them come to room temperature and rise for 1-2 hours before baking. This flexibility makes old fashioned yeast rolls perfect for entertaining—much of the work can be done ahead.
Baking and Finishing Touches
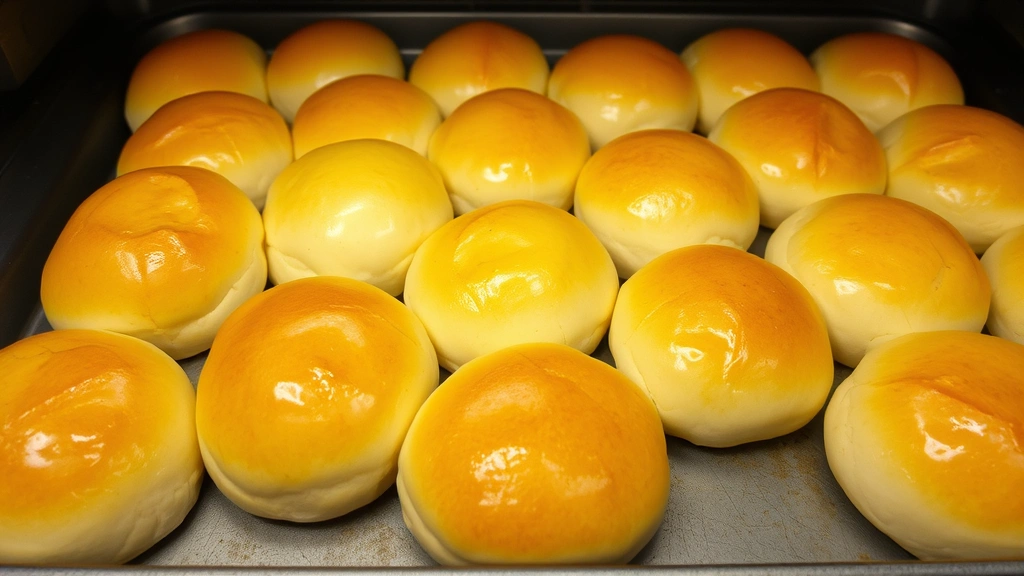
Preheat your oven to 375-400°F (190-204°C) about 15 minutes before baking. Just before placing rolls in the oven, brush them with an egg wash (one egg beaten with a tablespoon of water) for a beautiful golden-brown exterior, or use melted butter for a richer appearance. Some bakers sprinkle coarse salt or seeds for texture and visual interest.
Bake for 15-20 minutes, depending on roll size and your oven’s characteristics. Rolls are done when they’re golden brown and sound hollow when tapped on the bottom. An instant-read thermometer inserted into the center of a roll should read 190°F (88°C). Every oven bakes differently, so watch your rolls carefully during the final few minutes to prevent over-browning.
Remove from the oven and immediately brush with melted butter while still warm. This softens the crust and adds richness. Place on a wire rack to cool slightly. Warm rolls are absolutely delicious, but they’re easier to handle once they’ve cooled for 5-10 minutes.
Troubleshooting Common Issues
Dense, heavy rolls usually result from over-kneading, insufficient rising time, or yeast that’s no longer active. Always check your yeast’s expiration date and store it in a cool, dry place or refrigerator. If your rolls don’t rise adequately, your kitchen may be too cold. Try using warmer water (within the proper temperature range) or proofing in a warmer location, such as a turned-off oven with the light on.
Dry rolls indicate either too much flour or over-baking. Measure flour by weight rather than volume for accuracy. If your rolls are browning too quickly, cover them loosely with foil during the final few minutes of baking. Conversely, if they’re pale after the recommended baking time, your oven temperature may be inaccurate—invest in an oven thermometer for accuracy.
Gummy centers suggest under-baking or insufficient cooling time. Ensure rolls reach an internal temperature of 190°F, and allow them to cool on a wire rack rather than in a covered container, which traps steam. If your dough is too sticky to handle, you may need slightly more flour, or you could try chilling it for 30 minutes before shaping.
Storage and Make-Ahead Options
Freshly baked rolls are best enjoyed within a few hours, but they keep well for several days. Store cooled rolls in an airtight container at room temperature for up to 3 days. To refresh them, wrap in foil and warm in a 300°F oven for about 10 minutes. For longer storage, freeze baked rolls in a freezer-safe container for up to 3 months. Thaw at room temperature and warm before serving.
The make-ahead approach offers tremendous flexibility. Shape rolls, cover, and refrigerate overnight or freeze for up to 2 weeks. When ready to bake, thaw frozen rolls at room temperature for several hours, then let them rise at room temperature until puffy. This approach allows you to serve freshly baked rolls with minimal last-minute effort. For environmental considerations related to food preservation and sustainable cooking practices, you might explore how human choices affect environmental impact through food waste reduction.
Frequently Asked Questions
Can I use instant yeast instead of active dry yeast?
Yes, absolutely. Use the same amount—instant yeast dissolves more quickly but produces identical results. If you prefer, you can reduce instant yeast by about 25% since it’s slightly more potent, though many bakers don’t bother with this adjustment.
Why did my rolls turn out dense and heavy?
Dense rolls typically result from insufficient rising time, over-kneading, dead yeast, or too much salt. Ensure your yeast is fresh, allow adequate rising time in a warm environment, and don’t knead excessively after the initial development phase.
How can I make rolls with a softer crust?
Brush baked rolls generously with melted butter immediately after removing from the oven. For even softer crusts, place finished rolls in a covered container while still warm, which traps steam and softens the exterior.
What’s the difference between old fashioned yeast rolls and modern recipes?
Traditional old fashioned yeast rolls use longer fermentation times, often with a single long rise or overnight cold fermentation. Modern quick-rise recipes use more yeast and warmer temperatures to speed the process. Traditional methods develop superior flavor and texture.
Can I double the recipe?
Yes, doubling works perfectly. Ensure you have adequate bowl space for rising and enough oven space for baking. Kneading time may increase slightly with larger batches. All other steps remain the same.
Why should I use a kitchen scale?
Weighing ingredients eliminates variables that come with volume measurement. Flour especially varies in density depending on how it’s packed. Weighing ensures consistency from batch to batch and helps prevent overly dry or wet dough.
Is it necessary to brush rolls with egg wash?
Egg wash creates a beautiful golden-brown exterior and slight shine, but it’s optional. Water or milk also works. For a rustic appearance, skip the wash entirely. The choice is purely aesthetic.
Related Posts
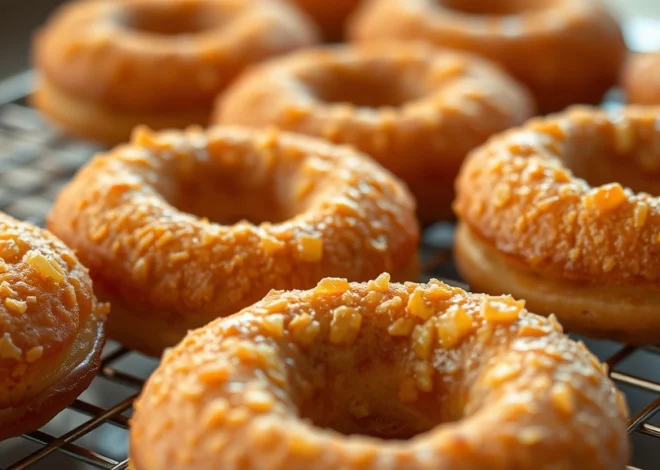
Perfect Old Fashioned Donut: Baker’s Secrets
Old Fashioned Chocolate Pie Recipe? Chef’s Favorite
