Perfect Old Fashioned Donut: Baker’s Secrets
Perfect Old Fashioned Donut: Baker’s Secrets
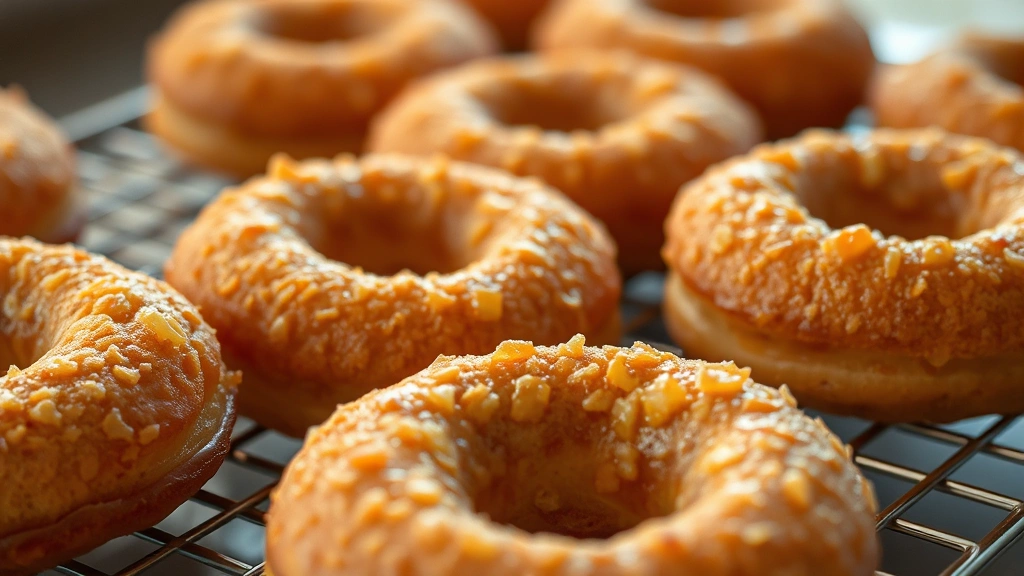
There’s something undeniably magical about biting into a homemade old fashioned donut—that crispy, golden exterior giving way to a tender, cake-like interior. Unlike cake donuts that can turn dense and dry, authentic old fashioned donuts strike the perfect balance between structure and moisture. This comprehensive guide reveals the professional techniques that separate bakery-quality donuts from disappointing homemade attempts.
Mastering old fashioned donuts requires understanding the science behind each ingredient and technique. From selecting the right flour to perfecting your frying temperature, every decision impacts your final result. Whether you’re a seasoned baker or attempting donuts for the first time, these baker’s secrets will elevate your homemade donut game to professional standards.
Essential Ingredients for Old Fashioned Donuts
The foundation of exceptional old fashioned donuts begins with quality ingredients. Unlike yeasted donuts that rely on fermentation, old fashioned donuts depend on chemical leavening agents to create their characteristic texture. Professional bakers understand that ingredient selection directly impacts flavor, texture, and shelf life.
Flour Selection Matters: Use all-purpose flour with 10-12% protein content. This protein level provides enough structure to support the donut’s weight without creating toughness. Cake flour, while tempting, produces donuts that are too tender and crumbly. Bread flour, conversely, creates dense, chewy results.
Buttermilk is non-negotiable for authentic old fashioned donuts. Its acidity reacts with baking soda to create carbon dioxide bubbles, producing that desirable crumbly texture. Regular milk simply won’t replicate these results. If you lack buttermilk, create a substitute by adding one tablespoon of lemon juice or vinegar to one cup of regular milk and letting it sit for five minutes.
Baking powder and baking soda work synergistically in old fashioned donut dough. Baking soda reacts immediately with acidic ingredients, while baking powder provides secondary leavening during frying. This dual-action system creates the characteristic irregular crumb structure that defines quality old fashioned donuts.
Eggs contribute moisture, richness, and structure. Use room-temperature eggs for better incorporation into the batter. Cold eggs don’t blend smoothly, resulting in uneven distribution throughout the dough.
Nutmeg and vanilla extract are signature flavors in traditional recipes. Nutmeg should be freshly grated rather than pre-ground to maximize aromatic qualities. Vanilla extract adds complexity and depth that elevates homemade donuts above basic versions.
The Science Behind Perfect Donut Texture
Understanding the chemistry of old fashioned donut creation transforms your baking approach. When batter hits hot oil, water content rapidly transforms into steam, creating the characteristic crumb structure. This process differs significantly from cake baking, where moisture remains trapped.
The science of baking reveals that old fashioned donuts require precise hydration levels. Too much liquid creates greasy, dense results. Too little produces dry, crumbly donuts. Professional bakers measure ingredients by weight rather than volume to ensure consistency across batches.
Temperature control during frying determines exterior crispness and interior moisture. Oil that’s too cool produces greasy, soggy donuts. Oil that’s too hot creates a hard crust before the interior cooks through. The ideal temperature range is 350-375°F (175-190°C). Investing in a reliable deep-fry thermometer is essential for success.
Gluten development must be carefully managed. Overmixing develops excess gluten, creating tough, chewy donuts. Mix the dry ingredients separately, then combine with wet ingredients using minimal stirring. A few lumps in the batter are preferable to overdeveloped gluten.
Step-by-Step Donut Dough Recipe
Ingredients:
- 2 cups all-purpose flour
- 1/2 cup granulated sugar
- 1 1/2 teaspoons baking powder
- 1/2 teaspoon baking soda
- 1/2 teaspoon salt
- 1/4 teaspoon freshly grated nutmeg
- 3/4 cup buttermilk (room temperature)
- 1 large egg (room temperature)
- 2 tablespoons melted butter
- 1 teaspoon vanilla extract
- Oil for frying (vegetable or canola)
Instructions:
- Prepare dry ingredients: Whisk together flour, sugar, baking powder, baking soda, salt, and nutmeg in a large mixing bowl. Ensure even distribution by whisking for approximately one minute. This prevents clumpy baking powder pockets that create uneven donuts.
- Combine wet ingredients: In a separate bowl, whisk buttermilk, egg, melted butter, and vanilla extract until thoroughly combined. Room-temperature ingredients blend more smoothly, creating a homogeneous mixture.
- Mix dough gently: Pour wet ingredients into dry ingredients. Using a rubber spatula, fold together until just combined. The batter should be slightly lumpy—overmixing develops gluten and toughens the final product. Mix for no more than 30 seconds after wet and dry ingredients contact.
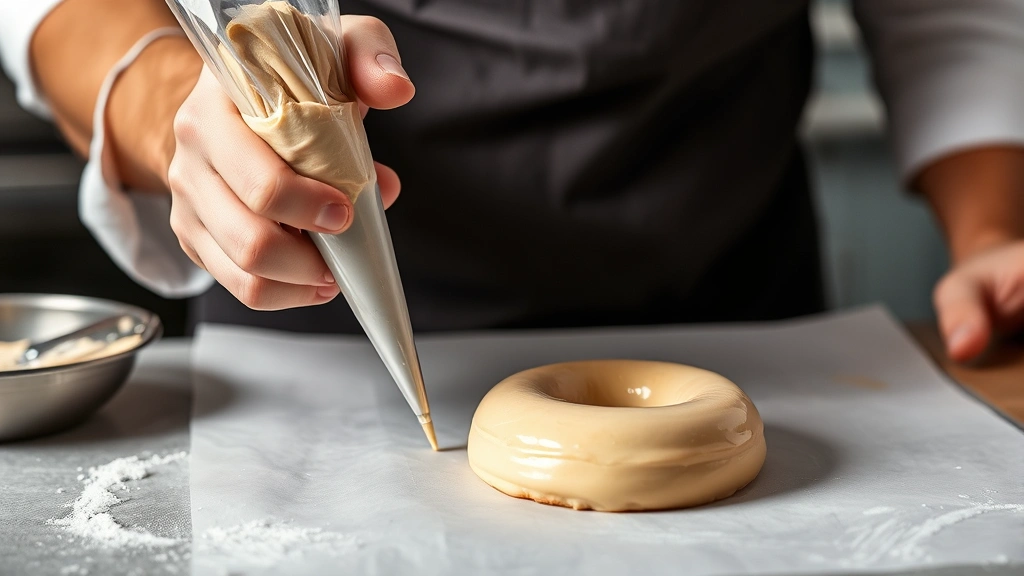
- Chill the dough: Transfer dough to a piping bag and refrigerate for at least 30 minutes. Cold dough is easier to handle and produces more tender donuts. This resting period also allows flour to fully hydrate.
- Prepare for frying: Line a baking sheet with parchment paper. Using a piping bag fitted with a large round tip, pipe donut shapes directly onto the parchment. Alternatively, use a donut cutter on a lightly floured surface.
Mastering the Frying Process
Frying represents the most critical step in old fashioned donut creation. This technique differs fundamentally from baking, requiring precise temperature control and timing.
Oil Selection and Preparation: Use oils with high smoke points such as vegetable, canola, or peanut oil. Avoid olive oil and butter, which break down at frying temperatures. Fill your pot with at least three inches of oil—shallow oil causes uneven cooking. Heat oil slowly to your target temperature, monitoring with a reliable thermometer.
First Side Frying: Carefully transfer donuts from parchment to hot oil. They should sizzle immediately upon contact. Fry for 60-90 seconds until the bottom is golden brown. Resist the urge to move donuts during this time—they’ll naturally flip when the bottom is sufficiently cooked and buoyant.
Flipping and Second Side: Using a slotted spoon or spider strainer, gently flip donuts and fry the second side for 45-60 seconds. The second side cooks faster because the donut is already partially cooked and floats higher in the oil. Watch for an even golden-brown color on both sides.
Cooling Process: Transfer fried donuts to a wire rack set over a baking sheet lined with paper towels. Never stack warm donuts directly on paper towels—they’ll stick. The cooling period allows excess oil to drain while the exterior sets.
Professional bakers understand that proper disposal of used frying oil matters. Never pour hot oil down the drain, as it damages plumbing and contaminates water systems. Allow oil to cool completely, then dispose of it responsibly according to local regulations.
Glazing and Finishing Techniques
The glaze transforms simple fried donuts into bakery-worthy creations. Professional glazes are thin enough to coat evenly but thick enough to adhere properly.
Classic Vanilla Glaze: Combine 2 cups powdered sugar, 3 tablespoons milk, 1 tablespoon melted butter, and 1 teaspoon vanilla extract. Whisk until smooth and pourable. The consistency should resemble thin pancake batter—thick enough to coat but thin enough to drip slightly.
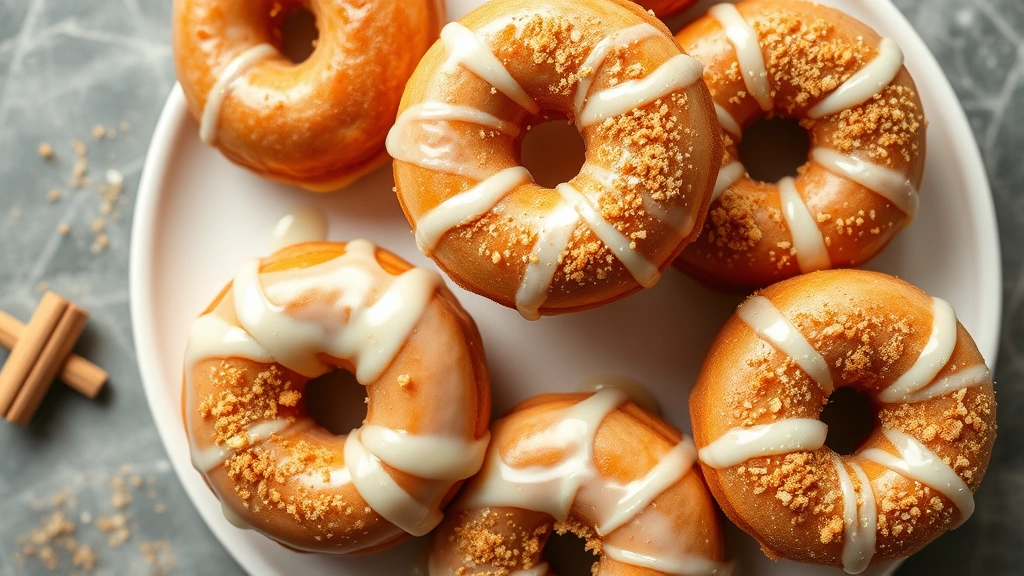
Glazing Application: Dip the top of each cooled donut into warm glaze, allowing excess to drip off. Rotate the donut slightly to ensure even coverage. Place glazed donuts back on the wire rack, allowing glaze to set for 15-20 minutes before serving.
Flavor Variations: Add maple syrup, cinnamon, or espresso powder to the basic glaze for unique flavors. Maple glazed old fashioned donuts offer sophisticated appeal, while cinnamon-sugar versions appeal to traditional tastes. Espresso-glazed donuts pair beautifully with morning coffee.
Toppings and Garnishes: Apply toppings immediately after glazing while the surface remains sticky. Cinnamon sugar, sprinkles, chopped nuts, or shredded coconut all work beautifully. Professional bakers often use sanding sugar for a more refined appearance than regular granulated sugar.
Troubleshooting Common Donut Problems
Even experienced bakers encounter occasional donut disasters. Understanding common issues helps you diagnose and correct problems.
Greasy, Dense Donuts: This typically indicates oil temperature was too low. Oil below 350°F doesn’t create the rapid crust needed to seal the donut’s exterior. Additionally, overmixing the batter develops excess gluten, creating dense results. Use a thermometer and minimize mixing time.
Donuts That Don’t Float: Dough that sinks rather than floats indicates insufficient leavening or overly dense batter. Ensure baking soda and baking powder are fresh—these leavening agents lose potency over time. Additionally, verify you’re using the correct flour type with appropriate protein content.
Uneven Browning: Inconsistent heat distribution in your oil causes uneven browning. Use a deep pot that distributes heat evenly, and avoid crowding the pan. Frying too many donuts simultaneously lowers oil temperature, affecting cooking consistency. Fry donuts in small batches, allowing oil temperature to return to target range between batches.
Dry Donuts: Overcooking is the primary culprit. Reduce frying time slightly—donuts continue cooking slightly after removal due to residual heat. Additionally, ensure your buttermilk is fresh, as old buttermilk has reduced acid content and affects texture.
Understanding how human impact affects food production can inform your ingredient sourcing decisions. Choosing locally-sourced buttermilk and eggs supports sustainable practices while ensuring ingredient freshness.
Storage and Shelf Life
Proper storage extends the enjoyment of homemade old fashioned donuts. These donuts are best consumed within 24 hours of frying, as they gradually lose their characteristic crispness.
Room Temperature Storage: Place cooled donuts in an airtight container at room temperature. Line the container with paper towels to absorb any residual moisture. Donuts stored this way remain acceptable for up to 24 hours, though quality deteriorates after 12 hours.
Refrigeration: While refrigeration extends shelf life to 3-4 days, it accelerates staling. The cold environment speeds moisture migration from the crumb to the crust. Reserve refrigeration for donuts you plan to reheat.
Freezing: Properly wrapped donuts freeze for up to three months. Wrap individually in plastic wrap, then place in a freezer-safe container. Thaw at room temperature for 2-3 hours before serving. Reheating frozen donuts in a 300°F oven for 5-10 minutes restores crispness.
Reheating Techniques: Never microwave old fashioned donuts, as microwave radiation creates rubbery texture. Instead, wrap donuts in foil and warm in a 300°F oven for 5-10 minutes. This restores crispness while maintaining moisture.
Professional bakers at Serious Eats emphasize that mastering donut storage prevents waste and extends enjoyment. Learning proper techniques respects the effort invested in homemade donut creation.
FAQ
Can I bake old fashioned donuts instead of frying them?
While baked donuts are healthier, they lack the characteristic texture of fried old fashioned donuts. Baking produces cake-like results rather than the crispy exterior and tender crumb that define authentic old fashioned donuts. If you prefer baked versions, adjust expectations accordingly.
What’s the difference between old fashioned and cake donuts?
Old fashioned donuts use buttermilk and baking soda for immediate leavening, creating a denser crumb with crispy exterior. Cake donuts use baking powder for slower leavening, producing lighter, more cake-like texture. Old fashioned donuts have more pronounced flavor and superior shelf life.
Can I make the dough ahead of time?
Yes, prepared dough keeps refrigerated for up to 24 hours. Pipe donuts onto parchment paper, then cover with plastic wrap. Fry directly from the refrigerator—cold dough produces superior results compared to room-temperature dough.
What oil is best for frying donuts?
Vegetable, canola, and peanut oils all work excellently. These oils have high smoke points and neutral flavors that don’t interfere with donut taste. Avoid specialty oils like coconut oil, which impart unwanted flavors.
How can I make mini old fashioned donuts?
Use a small piping tip or mini donut cutter to create smaller shapes. Reduce frying time to 30-45 seconds per side, as mini donuts cook faster than standard sizes. Monitor closely to prevent burning.
Why are my donuts greasy?
Greasy donuts result from oil temperature that’s too low. Invest in an accurate thermometer and maintain 350-375°F throughout frying. Additionally, avoid overmixing batter, which creates dense donuts that absorb excess oil.
Can I add fillings to old fashioned donuts?
Traditional old fashioned donuts are unfilled, but you can inject fillings using a piping bag fitted with a long, thin tip. Inject filling immediately after frying while donuts are still warm. Popular fillings include pastry cream, jelly, and chocolate custard.
Related Posts
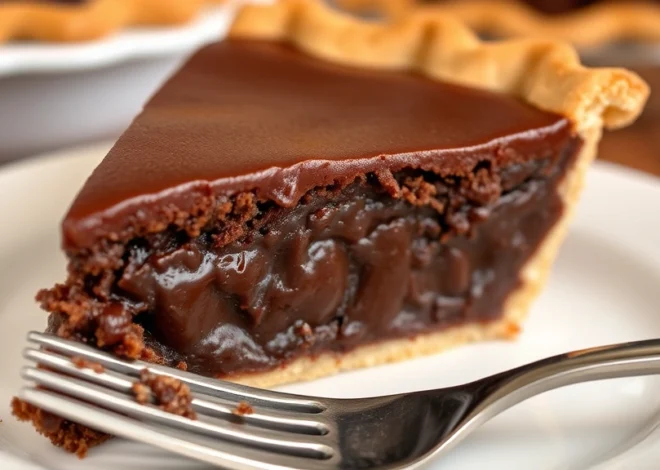
Old Fashioned Chocolate Pie Recipe? Chef’s Favorite

Old-Fashioned Pie Recipe? Baker’s Top Tips