Old Fashioned Chocolate Pie Recipe? Chef’s Favorite
Old Fashioned Chocolate Pie Recipe: Chef’s Favorite Guide
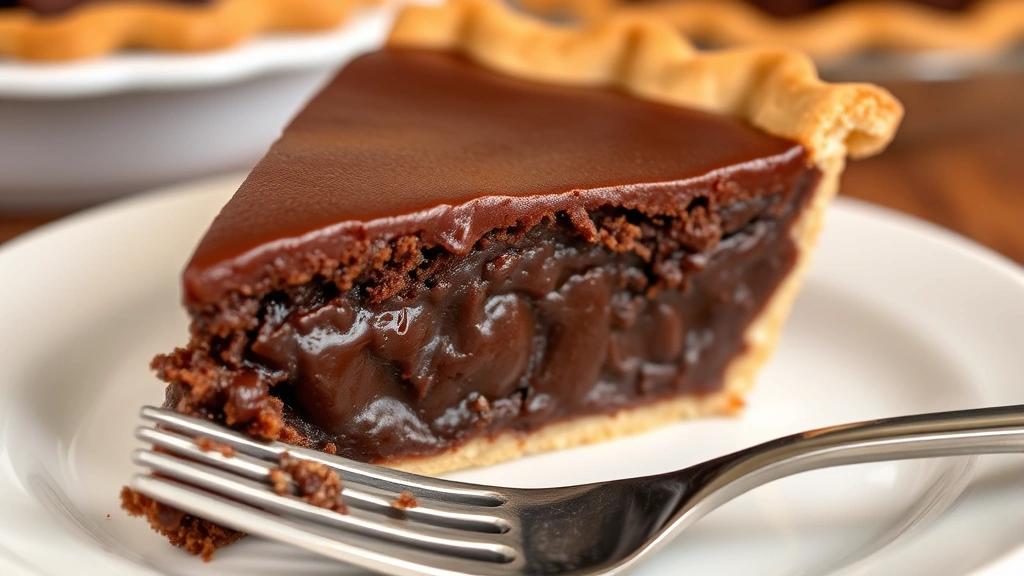
There’s something truly magical about an old fashioned chocolate pie that takes us back to simpler times and cherished family gatherings. This classic dessert has graced American tables for generations, representing comfort, indulgence, and the art of traditional baking. Whether you’re a seasoned baker or someone just discovering the joy of homemade pie, this timeless recipe delivers rich, decadent chocolate flavor in every bite that rivals any bakery creation.
What makes an authentic old fashioned chocolate pie so special isn’t just the ingredient list—it’s the technique, patience, and love poured into each step. Unlike modern chocolate desserts with their complex layers and avant-garde presentations, this traditional pie celebrates simplicity and pure chocolate satisfaction. The silky filling, buttery crust, and perfect texture combination create a dessert experience that feels both nostalgic and eternally relevant to today’s food scene.
What Makes Old Fashioned Chocolate Pie Special
An old fashioned chocolate pie represents everything wonderful about traditional American desserts. Unlike modern chocolate cakes or tortes, this pie maintains a distinctive character defined by its custard-like filling, flaky pie crust, and the way chocolate flavor permeates every component. Chefs and baking professionals often cite this recipe as foundational because it teaches essential pastry and filling techniques applicable to countless other desserts.
The history of chocolate pie in American cuisine dates back to the early 20th century when chocolate became more accessible to home bakers. Before that, chocolate was a luxury ingredient reserved for special occasions. As chocolate production increased and prices dropped, homemakers began experimenting with chocolate fillings in traditional pie formats. The result was this enduring classic that combines the comforting structure of pie with the luxury of chocolate indulgence.
What distinguishes a truly old fashioned chocolate pie is the texture and consistency of its filling. Rather than using whipped cream or mousse, traditional recipes rely on a custard-based filling thickened with cornstarch or flour. This creates a filling that’s neither too runny nor overly dense—perfectly sliceable yet creamy on the palate. The filling should have a subtle wobble when the pie is gently moved, indicating proper set without being rubbery or overcooked.
Essential Ingredients for Authentic Recipe
Creating an authentic old fashioned chocolate pie requires quality ingredients and proper proportions. The beauty of this recipe lies in its straightforward ingredient list, where each component plays a crucial role in the final result. Understanding what each ingredient contributes helps you make informed substitutions if needed.
For the Pie Crust:
- 2 and 1/2 cups all-purpose flour
- 1 teaspoon salt
- 1 tablespoon sugar
- 1 cup cold unsalted butter, cubed
- 6-8 tablespoons ice water
For the Chocolate Filling:
- 1 cup granulated sugar
- 1/3 cup cornstarch
- 1/4 cup unsweetened cocoa powder
- 1/4 teaspoon salt
- 2 and 3/4 cups whole milk
- 6 ounces semi-sweet chocolate, chopped
- 3 tablespoons butter
- 1 and 1/2 teaspoons vanilla extract
- 1 egg yolk (for egg wash on crust)
The flour selection matters significantly for pie crust texture. All-purpose flour with approximately 10-12% protein content creates the ideal balance between structure and tenderness. The cold butter is essential because it creates steam pockets during baking, resulting in those coveted flaky layers. Many bakers chill their flour and mixing bowl beforehand to keep everything as cold as possible.
For the chocolate filling, quality matters tremendously. Semi-sweet chocolate provides balanced flavor without overwhelming sweetness or bitterness. If you prefer darker chocolate, use a 60% cacao chocolate, but avoid anything above 70% unless you compensate by increasing the sugar slightly. The cocoa powder adds depth and richness beyond what chocolate alone provides.
Step-by-Step Pie Crust Instructions
The foundation of any exceptional pie is its crust, and old fashioned chocolate pie deserves a crust that’s tender, flaky, and buttery. This process requires attention to temperature and technique, but the results justify the effort.
Making the Dough: Combine flour, salt, and sugar in a large mixing bowl. Working quickly, cut the cold butter into small cubes and add to the flour mixture. Using a pastry cutter, two knives, or your fingertips, work the butter into the flour until the mixture resembles coarse breadcrumbs with some pea-sized pieces of butter still visible. This texture is crucial because those butter pieces create steam pockets during baking.
Sprinkle ice water over the mixture, one tablespoon at a time, tossing gently with a fork until the dough just comes together. You want a shaggy dough that barely holds together, not a smooth ball. Overworking the dough develops gluten, which makes crusts tough rather than tender. Divide the dough in half, shape each portion into a disk, wrap in plastic wrap, and refrigerate for at least one hour, preferably overnight.
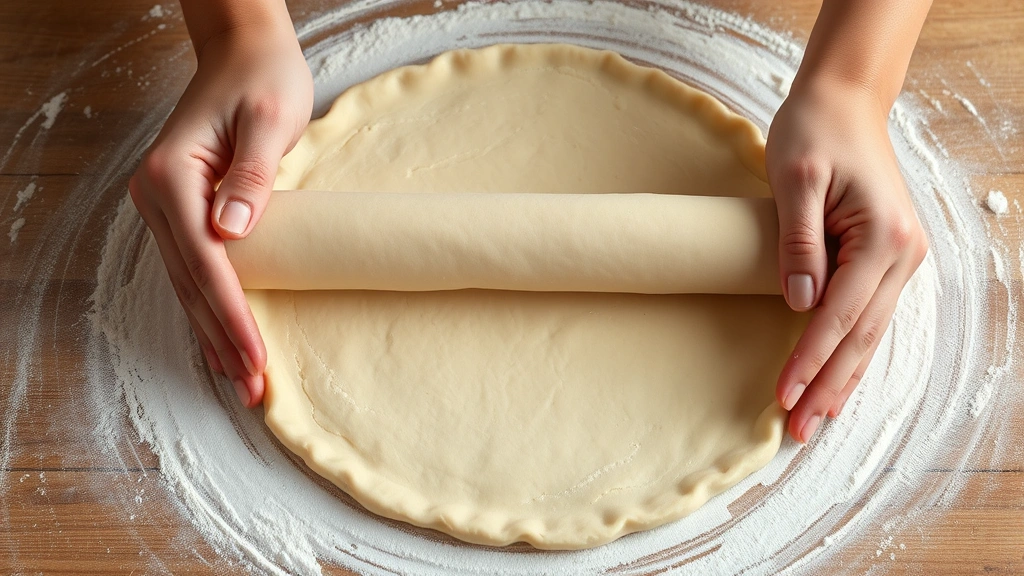
Rolling and Fitting: Remove one dough disk from the refrigerator and let it sit at room temperature for 5-10 minutes to become slightly pliable. On a lightly floured surface, roll the dough into a 12-inch circle, about 1/8 inch thick. Work from the center outward, rotating the dough occasionally for even thickness. If the dough cracks, simply pinch it back together.
Transfer the rolled dough to a 9-inch pie pan, letting excess hang over the edges. Gently press the dough into the bottom and sides without stretching. Fold the overhang under and crimp the edges decoratively with your fingers or a fork. Prick the bottom with a fork in several places to prevent puffing during blind baking. Refrigerate while preparing the filling.
Blind Baking: Preheat your oven to 375°F. Line the chilled crust with parchment paper and fill with pie weights or dried beans. Bake for 12-15 minutes until the edges are set but still pale. Remove weights and parchment, brush the bottom with egg yolk mixed with a teaspoon of water, and bake another 5 minutes to set the egg wash. This creates a moisture barrier preventing a soggy bottom crust. Remove from oven and set aside while preparing the filling.
Creating the Perfect Chocolate Filling
The filling is where this old fashioned chocolate pie truly shines. Creating a smooth, lump-free chocolate custard requires proper technique and attention to temperature control.
Combining Dry Ingredients: In a medium saucepan, whisk together sugar, cornstarch, cocoa powder, and salt. These dry ingredients must be thoroughly combined to ensure even distribution and prevent lumps in the finished filling. Take time with this step—lumpy filling is a common disappointment easily prevented by proper whisking.
Adding Milk: Gradually pour the milk into the dry ingredients while whisking constantly. Start with about 1/4 cup, whisking until smooth, then continue adding milk slowly while maintaining smooth consistency. This gradual approach prevents lumps from forming. Once all milk is incorporated, place the saucepan over medium heat.
Cooking the Custard: Stir constantly as the mixture heats, scraping the bottom and corners of the pan to prevent scorching. The mixture will gradually thicken as it approaches a simmer. Once it reaches a gentle boil, continue stirring for exactly one minute. This cooking time ensures the cornstarch gelatinizes properly, creating the ideal texture. The filling should coat the back of a spoon when done.
Finishing the Filling: Remove from heat and immediately add the chopped chocolate and butter, stirring until completely melted and smooth. Add vanilla extract and stir to combine. The residual heat from the hot custard melts the chocolate perfectly without requiring additional heating. Pour the hot filling into the pre-baked crust, smoothing the top with a spatula.
Baking and Cooling Techniques
Proper baking and cooling are essential final steps that determine whether your pie achieves that perfect texture or disappoints with a curdled or overcooked filling.
Baking Process: Preheat your oven to 350°F. Once the hot chocolate filling is poured into the crust, place the pie immediately into the oven. Bake for 10-12 minutes. The filling should appear set at the edges but still slightly jiggly in the center—about a 2-inch circle in the middle should wobble when you gently shake the oven rack. This indicates the filling is properly cooked but not overdone.
Overbaking is the most common mistake with chocolate pie. An overbaked filling becomes grainy and separates rather than maintaining its smooth, creamy texture. If you’re uncertain whether the pie is done, it’s better to underbake slightly since the filling continues cooking as it cools.
Cooling Strategy: Remove the pie from the oven and place on a wire rack. Allow it to cool to room temperature at this stage, approximately 1-2 hours. This gradual cooling prevents the filling from cracking and allows the structure to set properly. Once cooled to room temperature, refrigerate for at least 4 hours, preferably overnight, before slicing. The cold temperature makes the pie much easier to slice cleanly.
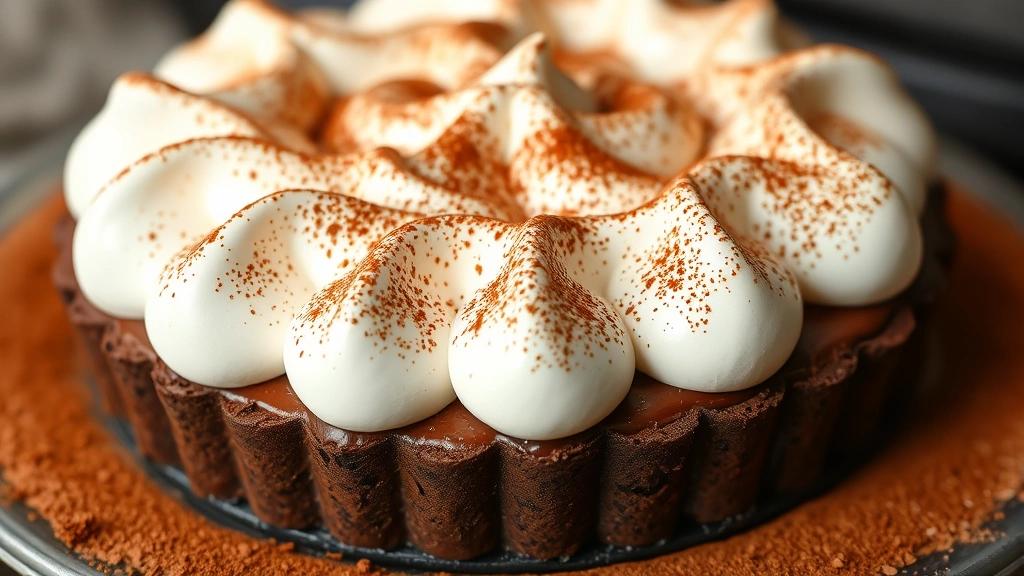
Many traditional recipes call for a meringue topping, which can be added before the final baking step. If desired, prepare meringue from 3 egg whites, 6 tablespoons sugar, and 1/2 teaspoon vanilla extract. Spread meringue over the hot filling, ensuring it touches the crust edges to prevent shrinking, then bake at 350°F for 10-12 minutes until golden brown.
Serving and Storage Tips
Serving old fashioned chocolate pie properly enhances the eating experience and showcases your baking achievement. A sharp knife dipped in hot water and wiped clean between cuts creates clean slices that maintain the pie’s beautiful appearance. Serve slices at room temperature or slightly chilled, depending on preference—some people prefer the deeper chocolate flavor when the pie is at room temperature, while others enjoy the firmer texture when cold.
Whipped cream is the traditional accompaniment, providing a cooling contrast to the rich chocolate. A vanilla ice cream works beautifully as well, melting slightly into the warm pie. Some regional variations include a drizzle of chocolate sauce or a sprinkle of chocolate shavings.
Storage Guidelines: Properly stored, old fashioned chocolate pie keeps well for several days. Cover the pie with plastic wrap or aluminum foil and refrigerate for up to 4 days. The pie can also be frozen for up to 2 months, though the texture of the filling may become slightly grainy after thawing. To freeze, wrap the cooled, unsliced pie tightly in plastic wrap and then aluminum foil. Thaw overnight in the refrigerator before serving.
If you’ve made the pie filling recipe ahead of time, store it in an airtight container in the refrigerator for up to 2 days before baking. The crust can be prepared and frozen unbaked for up to one month, or pre-baked and frozen for up to three weeks.
Variations and Creative Twists
While the traditional old fashioned chocolate pie is perfect as-is, creative bakers enjoy experimenting with variations that build on the classic foundation.
Mint Chocolate Version: Add 1/2 teaspoon peppermint extract to the filling along with the vanilla. This creates a sophisticated mint chocolate combination reminiscent of candy, yet perfectly balanced in a pie format. Some bakers add a touch of green food coloring for visual appeal.
Double Chocolate Intensity: Replace 1/2 cup of milk with heavy cream for a richer filling, and use 8 ounces of chocolate instead of 6. This creates a more decadent version suitable for chocolate enthusiasts.
Spiced Chocolate Variation: Add 1/4 teaspoon cinnamon, 1/8 teaspoon cayenne pepper, and a pinch of nutmeg to the cocoa mixture. These spices enhance chocolate flavor without overpowering it, adding warmth and complexity.
Crust Alternatives: Instead of traditional pie crust, try a chocolate graham cracker crust or a shortbread crust for different textures and flavor profiles. Some bakers use a nut-based crust with ground pecans or almonds mixed with butter and brown sugar.
Understanding these variations helps you customize the recipe to your preferences and dietary needs. The fundamental technique remains the same whether you’re making the classic version or experimenting with creative additions.
FAQ
Why is my chocolate pie filling grainy or separated?
Grainy texture typically results from overcooking the filling, which causes the cocoa solids and milk to separate. Cook just until the mixture reaches a gentle boil, then for exactly one minute more. Alternatively, the eggs in meringue toppings can curdle if the filling isn’t hot enough when the meringue is added. Ensure the filling is steaming hot before topping.
Can I make this pie without a meringue topping?
Absolutely! Traditional old fashioned chocolate pie is delicious with just the chocolate filling and crust. The meringue is optional and adds sweetness and height. Some prefer the cleaner chocolate flavor without meringue, while others enjoy the textural contrast and additional sweetness it provides.
What’s the difference between this pie and chocolate cream pie?
Chocolate cream pie typically features a thinner chocolate layer topped with whipped cream, while old fashioned chocolate pie has a thicker, more substantial filling. The filling in cream pie is often lighter and fluffier due to whipped cream incorporation, whereas traditional chocolate pie relies on a dense, custard-based filling.
How do I prevent a soggy bottom crust?
Blind baking the crust before adding filling is essential. Additionally, brushing the pre-baked crust with egg yolk creates a moisture barrier. Some bakers apply a thin layer of melted chocolate to the bottom crust before filling for extra protection against sogginess.
Can I use cocoa powder instead of chocolate for the filling?
Using only cocoa powder creates a different texture and flavor profile. You’d need to increase cocoa powder to 1/2 cup and add 2 ounces of butter to compensate for the missing cocoa butter in chocolate. The result is less rich but still delicious. For best results, use a combination of cocoa powder and chocolate as the recipe suggests.
Why should I chill the pie overnight?
Chilling allows the filling to fully set and develop its proper texture. The cornstarch continues to thicken as the pie cools, and the chocolate flavor becomes more pronounced. Additionally, a fully chilled pie is much easier to slice cleanly without the filling breaking apart.
Related Posts
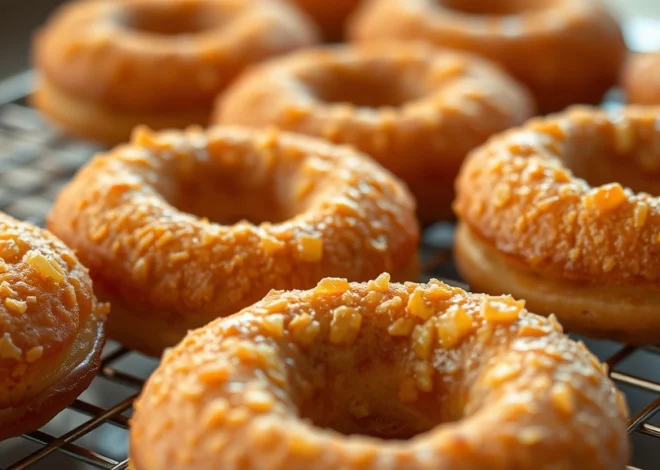
Perfect Old Fashioned Donut: Baker’s Secrets

Old-Fashioned Pie Recipe? Baker’s Top Tips