Old-Fashioned Pie Recipe? Baker’s Top Tips
Old-Fashioned Chocolate Pie Recipe: Baker’s Top Tips for Perfect Results
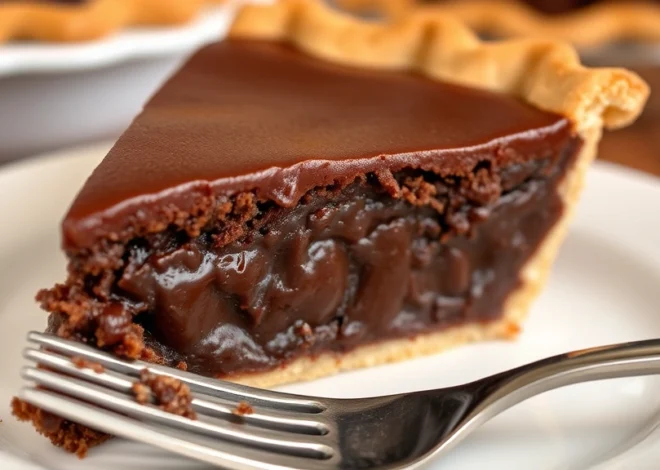
There’s something undeniably magical about a slice of old-fashioned chocolate pie. This timeless dessert has graced American tables for generations, combining a buttery crust with rich, silky chocolate filling that melts on your tongue. Whether you’re baking for a special occasion or simply craving comfort food, mastering the art of chocolate pie will elevate your baking repertoire and impress everyone at your table.
In this comprehensive guide, I’ll share the secrets that professional bakers use to create show-stopping chocolate pies. From selecting quality ingredients to troubleshooting common problems, you’ll learn every technique needed to bake a pie that looks bakery-perfect and tastes absolutely divine. Let’s dive into the world of classic chocolate pie and discover why this dessert remains a beloved favorite.
Essential Ingredients for Authentic Chocolate Pie
The foundation of any exceptional old-fashioned chocolate pie begins with quality ingredients. Unlike modern desserts that rely on shortcuts, traditional chocolate pie celebrates pure, simple components that work together harmoniously. The star ingredient is undoubtedly chocolate—and here’s where many home bakers make their first mistake.
Choose high-quality cocoa powder and chocolate that contains at least 60% cocoa solids. Dark chocolate provides a sophisticated depth that milk chocolate simply cannot match, while cocoa powder adds intensity without excess sugar. Many professional bakers recommend a combination of both melted chocolate and cocoa powder to achieve maximum chocolate flavor with the perfect texture.
Your filling also requires whole milk, heavy cream, butter, and eggs. Room-temperature eggs integrate more smoothly into your filling mixture, creating a custard-like consistency. Sugar acts as both sweetener and structural agent, so don’t skip it or reduce it significantly. Cornstarch or flour serves as a thickening agent—cornstarch produces a smoother texture, while flour creates a slightly more traditional consistency.
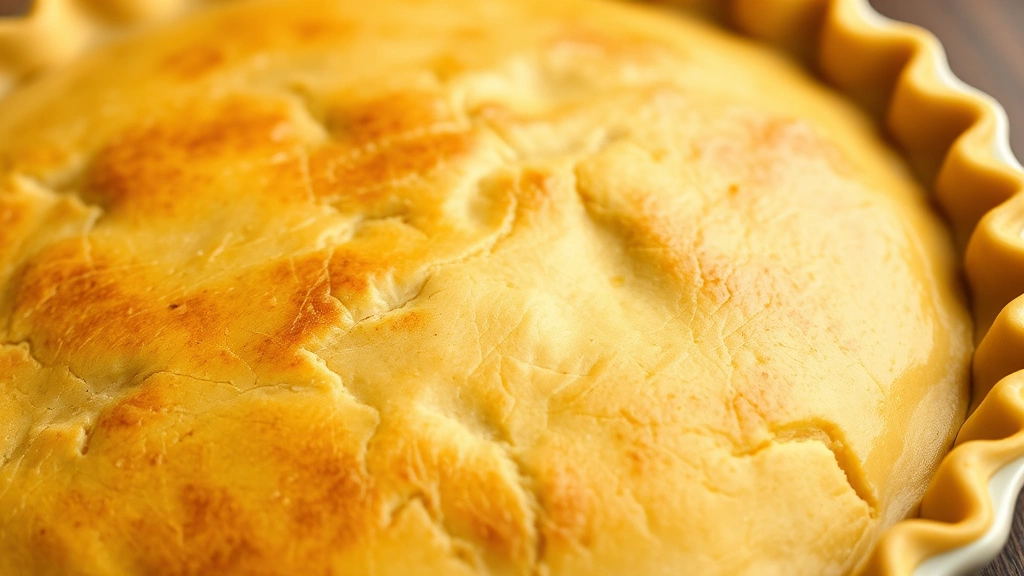
The crust deserves equal attention. All-purpose flour, cold butter, salt, and ice water are all you need. Some bakers add a pinch of sugar to their crust for subtle sweetness. The key is keeping everything cold, which creates those beautiful flaky layers that distinguish a homemade crust from store-bought versions.
For flavoring, vanilla extract, salt, and sometimes a hint of cinnamon or espresso powder elevate the chocolate notes beautifully. These subtle additions don’t announce themselves but rather amplify the chocolate’s natural complexity.
Mastering the Perfect Pie Crust
A flaky, buttery crust separates amateur bakers from professionals. The science behind pie crust is straightforward: you’re creating tiny pockets of fat surrounded by flour, which steam during baking to produce those coveted flaky layers. Understanding this principle will transform your crust-making experience.
Start by combining flour and salt in a large bowl. Cut cold butter into small cubes—roughly the size of peas—and work it into the flour using a pastry cutter, two knives, or your fingertips. The goal is to create a mixture that resembles coarse breadcrumbs. Those tiny butter pieces are crucial; they create steam pockets during baking. If your butter is warm or over-worked, these pockets disappear, resulting in a tough, dense crust.
Add ice water gradually, mixing just until the dough comes together. This is critical: avoid overworking the dough. You want visible flecks of butter remaining. The dough should feel slightly shaggy but hold together when squeezed. Too much water makes the crust tough; too little makes it difficult to work with.
Form the dough into a disk, wrap it in plastic wrap, and refrigerate for at least one hour—overnight is even better. This resting period allows the gluten to relax and the butter to firm up, both essential for flakiness. When you’re ready to roll, work on a floured surface, rolling from the center outward to maintain an even thickness.
Transfer your rolled dough to a pie pan, letting excess drape over the edges. Fold the edges under and crimp decoratively with your fingers or a fork. Prick the bottom with a fork to prevent puffing during blind baking. Chill the crust again for 15-20 minutes before baking. This prevents shrinking and maintains those precious butter pockets.
Many bakers blind bake their crust—partially baking it before adding filling. Line your crust with parchment paper and fill with pie weights or dried beans. Bake at 375°F for 10-12 minutes, just until the edges begin to set. Remove the weights and parchment, then brush the crust with egg wash or melted butter for extra color and flavor.
Creating Silky Chocolate Filling
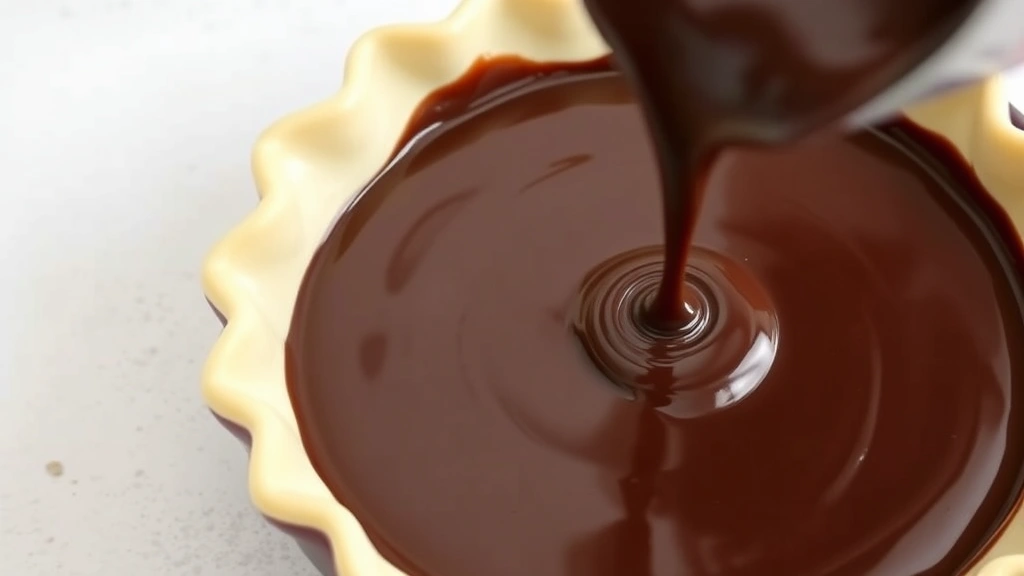
The filling is where old-fashioned chocolate pie truly shines. A proper chocolate filling should be thick enough to slice cleanly yet silky and smooth on the palate. This balance requires precision and understanding of how ingredients interact.
Begin by heating your milk and cream together in a saucepan until steam rises—don’t let it boil. While the dairy heats, whisk together egg yolks, sugar, cocoa powder, cornstarch, and salt in a separate bowl. The whisking is important; you’re incorporating air and ensuring the cornstarch distributes evenly, preventing lumps.
Slowly temper the eggs by adding the hot milk mixture in a thin stream while whisking constantly. This gradual process prevents the eggs from scrambling. Once fully combined, return the mixture to the saucepan over medium heat, whisking continuously. The filling will thicken as the cornstarch gelatinizes—typically within 2-3 minutes. You’ll notice it transition from pourable to pudding-like consistency.
Remove from heat and stir in chopped chocolate, butter, and vanilla extract. The residual heat melts the chocolate completely, creating a glossy, luxurious texture. A pinch of espresso powder intensifies the chocolate flavor without making the filling taste like coffee. Some traditional recipes include a small amount of cinnamon for warmth and complexity.
For the smoothest filling, strain the mixture through a fine-mesh sieve immediately after cooking. This removes any cooked egg bits or lumps, resulting in professional-quality texture. Pour the filling into your prepared crust and smooth the top with an offset spatula.
Allow the pie to cool to room temperature, approximately 30-45 minutes, before refrigerating for at least 4 hours or overnight. This chilling time is non-negotiable—it’s when the filling sets properly and flavors meld together. Many bakers find that chocolate pie tastes even better the next day after flavors have fully developed.
Baking Techniques and Timing
Understanding your oven is crucial for consistent results. Oven temperatures can vary significantly, so invest in an oven thermometer to ensure accuracy. A too-hot oven can cause your crust to burn before the filling cooks; too-cool means extended baking time that dries out the filling.
If you’ve blind-baked your crust, pour the filling into the partially baked shell. Some bakers place the pie on a preheated baking sheet—this conducts heat to the bottom crust, preventing a soggy base. Bake at 350°F for 15-20 minutes. The filling should jiggle slightly in the center when gently shaken but shouldn’t slosh. The edges will set first; the very center should have a slight wobble.
Overbaking causes cracking and a grainy texture. The filling continues cooking as it cools, so remove it from the oven when there’s still a tiny bit of give in the center. This residual cooking is perfectly normal and necessary for the ideal texture.
If your crust edges are browning too quickly, cover them with foil or a pie shield. This protects the crust while allowing the filling to cook fully. Let the pie cool completely at room temperature before refrigerating—rapid temperature changes can cause cracking.
Decorating and Serving Your Pie
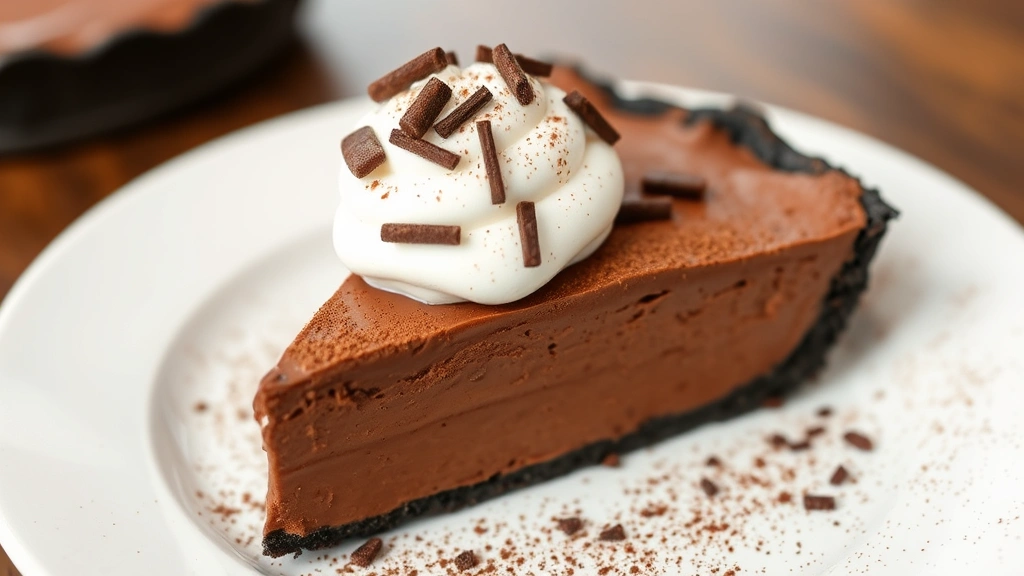
A beautiful presentation makes your chocolate pie even more special. Whipped cream is the classic accompaniment—either dolloped on individual slices or spread over the entire pie. For homemade whipped cream, whip cold heavy cream with powdered sugar and vanilla extract until stiff peaks form. Serve immediately for the best texture.
Chocolate shavings add elegance and visual interest. Use a vegetable peeler on a chocolate bar to create thin curls, or use a microplane for finer shavings. Dust cocoa powder over whipped cream for a professional finish. A sprinkle of fleur de sel enhances the chocolate flavor beautifully.
Some traditional recipes include a meringue topping. Beat egg whites with sugar until stiff peaks form, spread over the warm pie, and bake at 350°F for 8-10 minutes until golden. This creates a crispy, marshmallow-like topping that contrasts wonderfully with the creamy filling.
For serving, use a sharp, thin-bladed knife dipped in hot water and wiped between cuts. This produces clean slices rather than ragged ones. Room-temperature pie slices more easily than cold pie, but cold pie holds its shape better—choose based on your preference.
Storage and Make-Ahead Tips
Properly stored chocolate pie keeps for 3-4 days in the refrigerator, covered loosely with plastic wrap or stored in an airtight container. The filling actually improves as flavors develop, making pie baked the day before serving ideal for entertaining.
You can prepare components ahead of time: the crust dough keeps for up to 2 days refrigerated or 3 months frozen. A blind-baked crust stays fresh for one day at room temperature or can be frozen for up to one month. The filling, once cooked, keeps refrigerated for 2 days before baking into the pie.
For freezing whole pies, cool completely, then wrap tightly in plastic wrap and aluminum foil. Frozen pie keeps for up to 2 months. Thaw overnight in the refrigerator before serving. The texture remains excellent after freezing—this is one dessert that handles freezing beautifully.
If your pie develops condensation under plastic wrap, it’s absorbing moisture from the filling. This is normal; simply wipe away moisture before serving. Some bakers place a paper towel under the plastic to absorb excess moisture.
FAQ
Why is my chocolate pie filling grainy?
Grainy texture typically results from overcooking or eggs scrambling during tempering. Ensure you whisk constantly while adding hot milk to eggs, and remove the filling from heat the moment it thickens. Straining through a fine-mesh sieve eliminates most graininess.
Can I use chocolate chips instead of chopped chocolate?
Chocolate chips contain stabilizers that prevent melting smoothly. While they work in a pinch, chopped chocolate or chocolate bars produce superior texture and flavor. For best results, use high-quality chocolate pieces designed for melting.
What should I do if my crust shrinks during baking?
Shrinking occurs from over-working the dough or insufficient chilling. Ensure you refrigerate your dough and crust shell thoroughly. Avoid stretching dough when fitting it into the pan. Pie weights during blind baking also prevent shrinking.
How do I prevent a soggy bottom crust?
Blind baking is essential for chocolate pie. Additionally, baking on a preheated baking sheet conducts heat directly to the crust bottom. Some bakers brush the crust with melted chocolate before adding filling—this creates a moisture barrier.
Can I make this pie dairy-free?
Yes, substitute whole milk and heavy cream with full-fat coconut milk or oat milk. The filling will be slightly less rich but still delicious. Use dairy-free butter for the crust and filling. Ensure your chocolate is dairy-free.
Why does my pie crack on top?
Cracks indicate temperature shock or overbaking. Avoid sudden temperature changes—let pie cool gradually at room temperature before refrigerating. Remove from oven when the center still has slight jiggle. A water bath under the pie pan can prevent cracking by providing gentle, even heat.
Related Posts
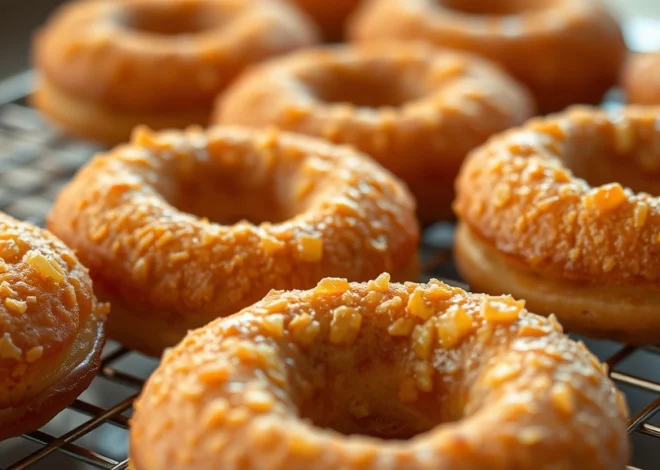
Perfect Old Fashioned Donut: Baker’s Secrets
Old Fashioned Chocolate Pie Recipe? Chef’s Favorite